. . . for Lauren and Lauren: DIY
Showing posts with label DIY. Show all posts

May 18, 2015

DIY Flower Pots

painted flower pots

I could count on one hand how many weeks I've kept a plant alive before, but I am determined to change that this summer! I think because we spend some much time at home now that we have Addilyn, I'm more motivated to make our house, both inside and out, more appealing.  I also am always looking for things for Addilyn and I do to together, so making flower pots and planting flowers was perfect!  

I had no idea how expensive planters were, so we just made our own.  These ceramic pots were under $1.50.  I bought a bunch of them and already had stickers and paint at home.  Addilyn helped me put dots all over a few of the pots and I did just a strip of painters tape on the others. 


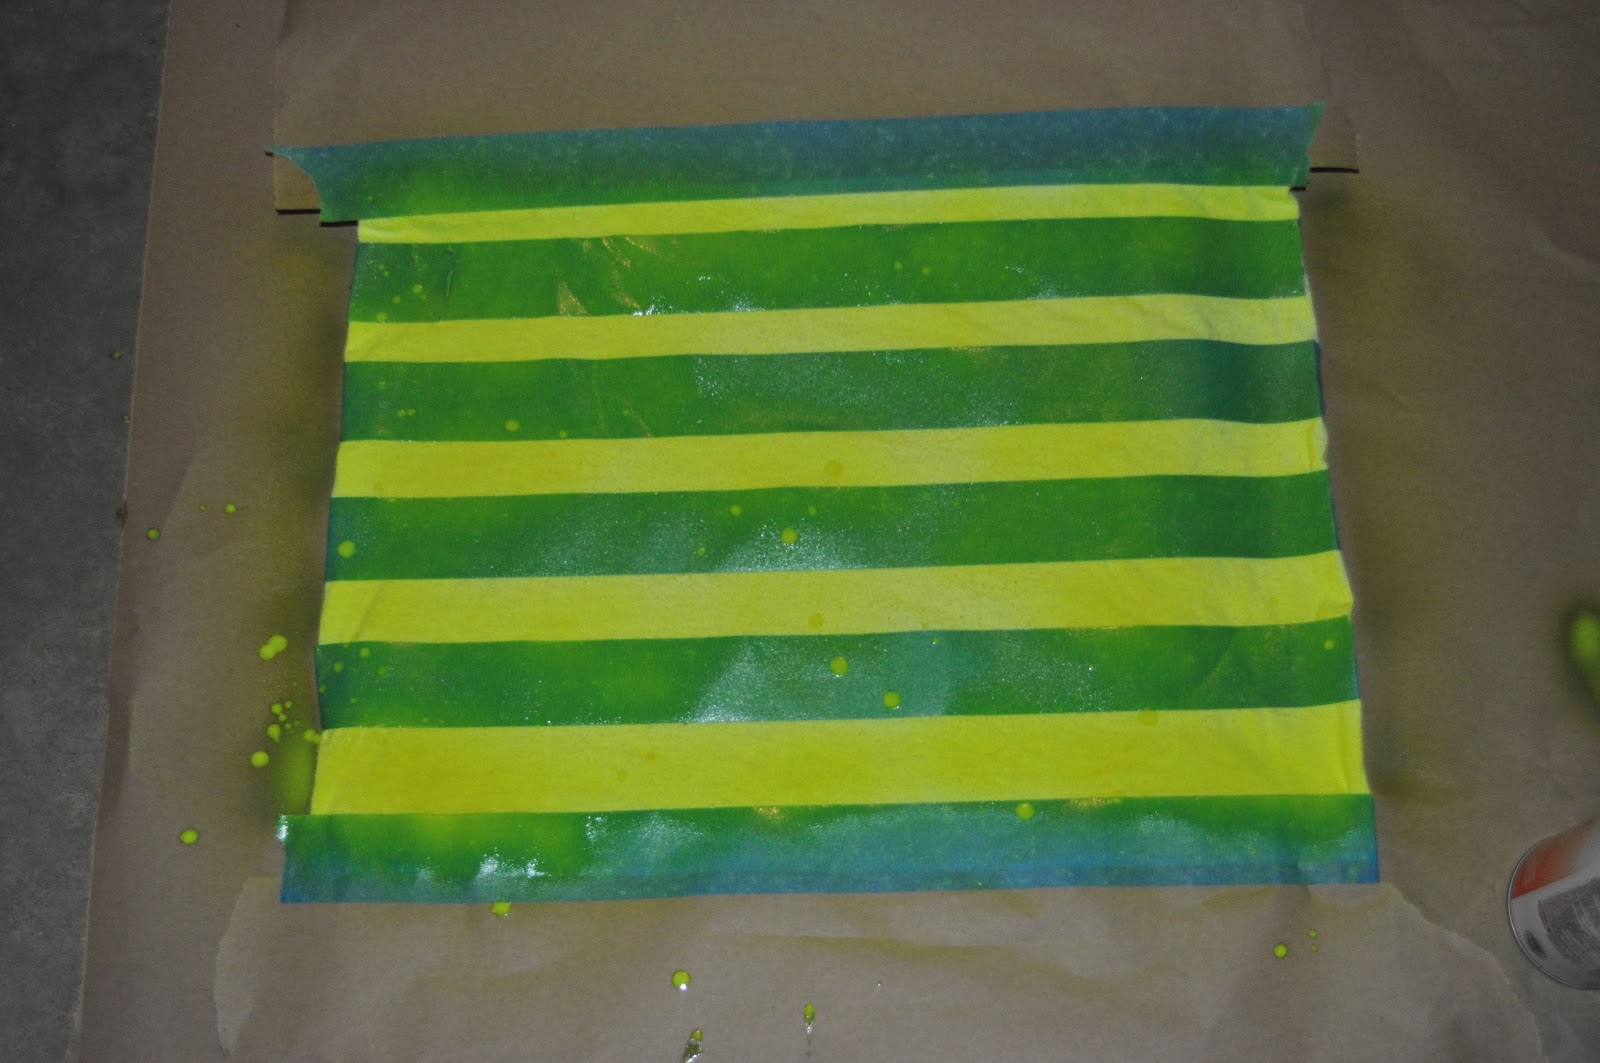
 I thought spray paint would be the easiest, but after doing one I used acrylic paint instead.  The acrylic paint was much brighter and looked way better.  After the paint dried I took off the stickers and tape and they looked great!  Not perfect, but good enough!

I found a little shovel for Addilyn and she was thrilled to "help" put it in the pots.  My deck was a disaster, but it was so worth it.  We were covered in dirt but were happy!  


Besides flowers, we got basil and cilantro to plant as well.  One year I tried to plant a garden and failed quite miserably, so we're starting small this summer and maybe I'll try a big garden next year. The grey bigger pots I got at Target for under $3 and just decorated them with a gold Sharpie to make them cuter!

painted flower pots
 

That little stand in the corner used to be in our house and was about to go to Goodwill after sitting in our garage for awhile.  I'm glad I didn't get rid of it, because after some spray paint it's perfect for our deck!  (Next up is some stain for our patio furniture!) 


 We made some pots for our moms as a Mother's Day gift, and planted some flowers in them too!

painted flower pots

 I found a cute little Frozen watering can at Target and Addi loves it!  We water all of the plants at least once a day, over and over.  I surely hope we don't kill them from too much water!! I'm thankful for a new hobby for Addilyn and I and a pretty deck, porch and yard!!


Image Map


January 21, 2015

Hardware sensory board

hardware sensory board

I know a sensory board is no new idea, but I thought I'd share the one that we made for Addilyn a few months ago.  I looked at a bunch of pictures on pinterest and just combined a few and really just added whatever we could find at Home Depot.  Unfortunately all those little hardware pieces are not super cheap, but it has provided lots of playtime for Addilyn so oh well, right?  

hardware sensory board

We bought a piece of plywood and I painted it.  Then Chris drilled in a ton of screws for all of the things we bought.  We have two lights, a few locks, a wheel, some circle hooks to hold a carabiner, links and a rope.  That pink circle was the case for running tape I had that Addilyn loved screwing the cap on and off.  She'll put Cheerios or monkeys in there and put the top on and off.  We screwed PVC pipe on there and she can drop stuff through it.  


It would entertain for a long time at the beginning, but sadly has lost some of it's interest now.  I think I'll put it in our garage for a few weeks and then bring it out again with hopes of her spending time playing with it again!

hardware sensory board

Image Map

March 5, 2014

Burlap & Lace Table Runner


This last weekend, thanks to Chris spending lots of time playing with Addilyn, I got to spend some good time crafting.  I made this burlap and lace table runner and love how it turned out! I already had the burlap and only spent $5 on the lace, so super cheap project.  


I cut the burlap (which is actually the hardest part and I failed to make it perfectly straight) and then I pinned the lace to all four sides and sewed it.  

I used freezer paper to cut out a letter V and taped it down to the burlap.  Then painted with a sponge brush and peeled the paper off once it dried. 


For the mason jars I just put a large amount of paint in the bottom of the jars and swirled them around.  Then turned them upside down and let them dry.  I had to add a little paint to a few places and swirl some more but most of it got covered on its own!  I got these cute burlap flowers from Hobby Lobby.  


I love my new dining room table and it makes me feel like I am a tiny bit closer to Spring!


I tend to get a little overboard when I like something, (like baby footprints for everything) and made another burlap initial craft.  I will have to share whenever I get to taking pictures of it!

Photobucket


September 23, 2013

Chalkboard vase


If you thought these projects that I shared last week were easy, this was can beat it as it took less than five minutes.   I found this old vase at Goodwill for less than $3.  


I bought some chalkboard spray paint at Hobby Lobby for $4.  I sprayed on one good coat and let it dry for a few hours.  Then wrote on it with chalk and filled it will fall leaves.  


And that's it!  I love how it looks on our fireplace mantle and it cost less than $7.  Plus I'm excited to use it for other holidays as I can wipe it off and write something else!  Sorry for the poor quality phone picture. Someday I'll learn how to take good pictures with a real camera. 


Happy happy Fall!

Photobucket


June 3, 2012

DIY Neon Striped Tee

shirt: DIY  jeans: kohls  sandals: target  tree necklace: K.Jane

I was inspired by Sarah's post from the winthrop chronicles and made this shirt last week.  
(She has lots of sweet tutorials that I plan on trying this summer!) 

I've been wanting something neon and am so excited this shirt turned out.  
Since I already had the white tee at home, I only spent $3 on the spray paint.

All you need is a white t-shirt, painter's tape and spray paint. 
The spray paint I used said good for indoor or outdoor use, and was florescent yellow.


Use the painter's tape to mark off your stripes.  
I kind of wish I would have used smaller tape so my stripes were thicker, but this is what I had at home. 


I made my stripes smaller on top and bigger as they went down. 


Use some paper to block the top and bottom of the shirt.


Do a few coats of paint and let dry.
This was one of the faster projects I've done and I love how it turned out!


I've washed my shirt once and the color was still just as bright.   


I'm thinking I now need to make some onsies or kids' shirts using spray paint.
So many possibilities!

Hope you've had a great weekend!


May 6, 2012

Easiest DIY skirt


I've been wanting a polka skirt and have not been able to find one so I decided to make one myself.  First I attempted a skirt with a zipper.  It looked pretty good but would not fit past my thighs.  Clearly I had some measuring issues.  

So I made this one and it is probably the easiest skirt you could make.  

All you need is fabric, elastic and a sewing machine. 


First measure your elastic.  I cut mine too close to my actual waist size and I wish it was tighter, so next time I'd make the elastic smaller than my waist size.    


Measure your material.  I didn't do any real measuring here.  I just held up the material and made sure that the width fit around my waist (with a little extra to sew).  And then the length was long enough with a little extra to hem.  


Fold your fabric in half and sew the one side of your skirt together.  This will be the back of the skirt. 


Then take the top of your skirt and do a very loose stitch.  I put my sewing machine on the highest stitch size.  I'm sure you could do this part by hand to, just sewing wide stitches.  


Take one end of the thread and pull so that your skirt ruffles.  
My thread broke part way, so I just sewed what was left and pulled again.  
This part doesn't have to be perfect because you are sewing over it and then pulling out any extra thread later.  


Sew your elastic band together.  I went back and forth a few times to make sure it was sturdy. 

Line the top of your elastic up to the top of your skirt.  
 The elastic will flip up when you're done. 

Now you have to move your gathers/ruffles around so that your skirt is even.  


Pin your elastic and then sew at the top.  


I had some places where my loose stitch was sticking out some so I had to cut it off in some places.  This stitch doesn't matter any more since you now have the elastic sewed on. 


Finally, iron and hem your skirt. 


And that's it!  


Hope you all had a great weekend!